3D Peyote Star
3D Peyote Star
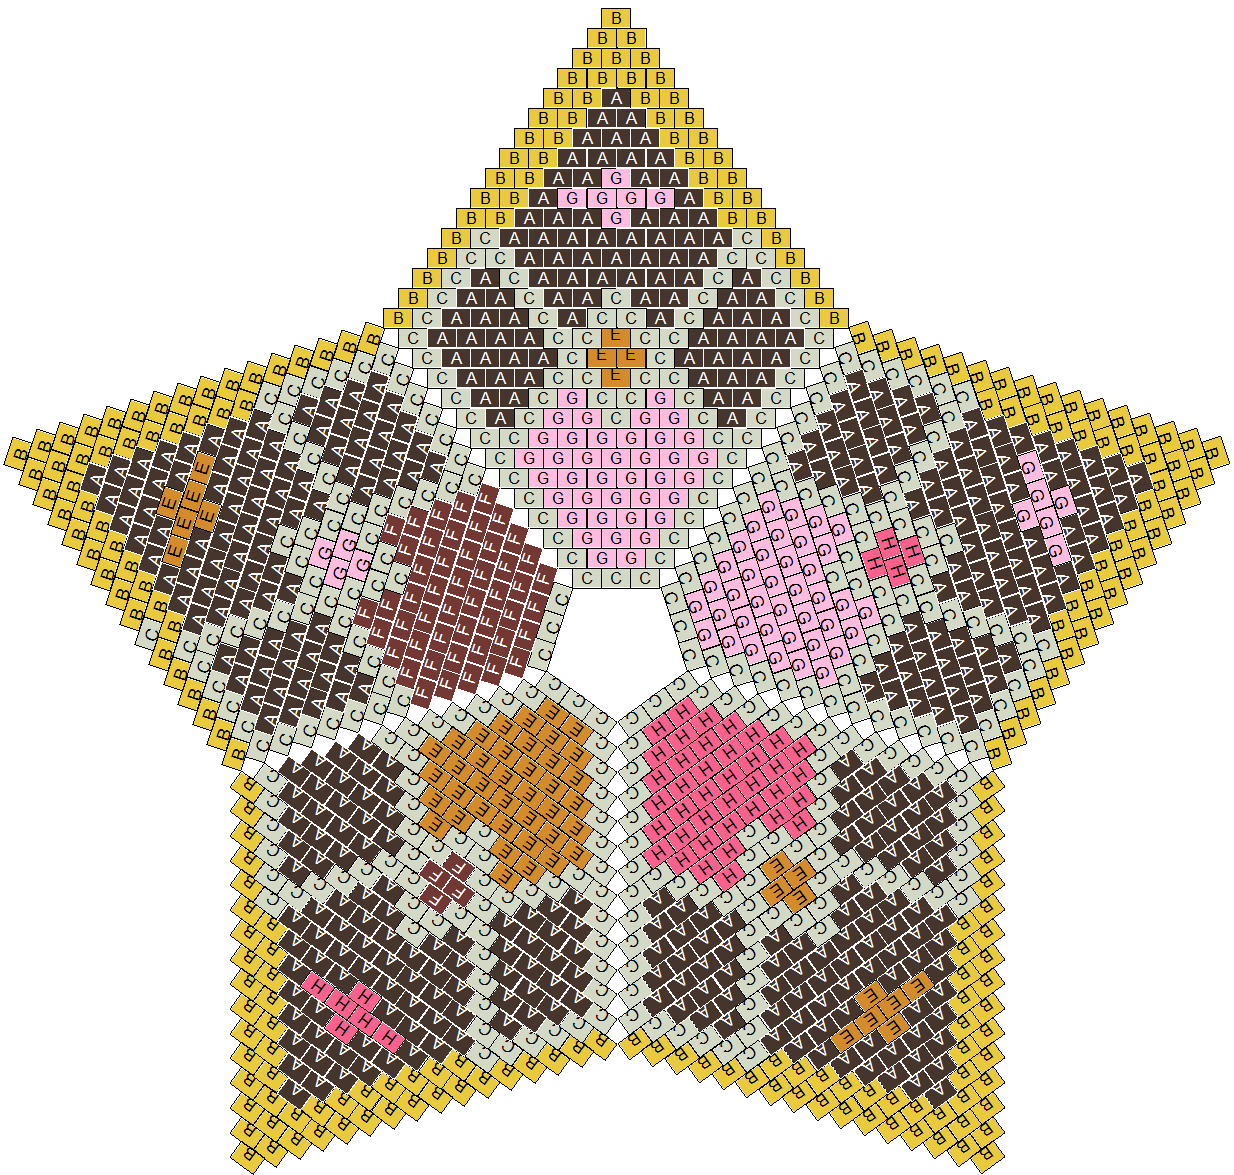
3D Peyote Star from PeyoteCreator program
You can find very much Internet resources with ready 3D peyote star patterns, for example this. As a rule the patterns are paid and you cannot make some changing in it. Instead of it Peyote Creator program allows you doing that. With the program you can making 3D Peyote Star graph as you prefer. You ever may put your own image on the graph.
- Peyote Stars can be with a different number of rays – 4, 5 6, 7, 8, … 16. See video here.
- Peyote Stars may consists from any rows number.
- You can use about 50 popular predefined builded in palettes (Delica, Toho, Twin, Preciosa, etc.) or create custom palette by bead’s color images with PaletteCreator, which is the program part.
- Symmetric Drawing feature allows paint the star easier.
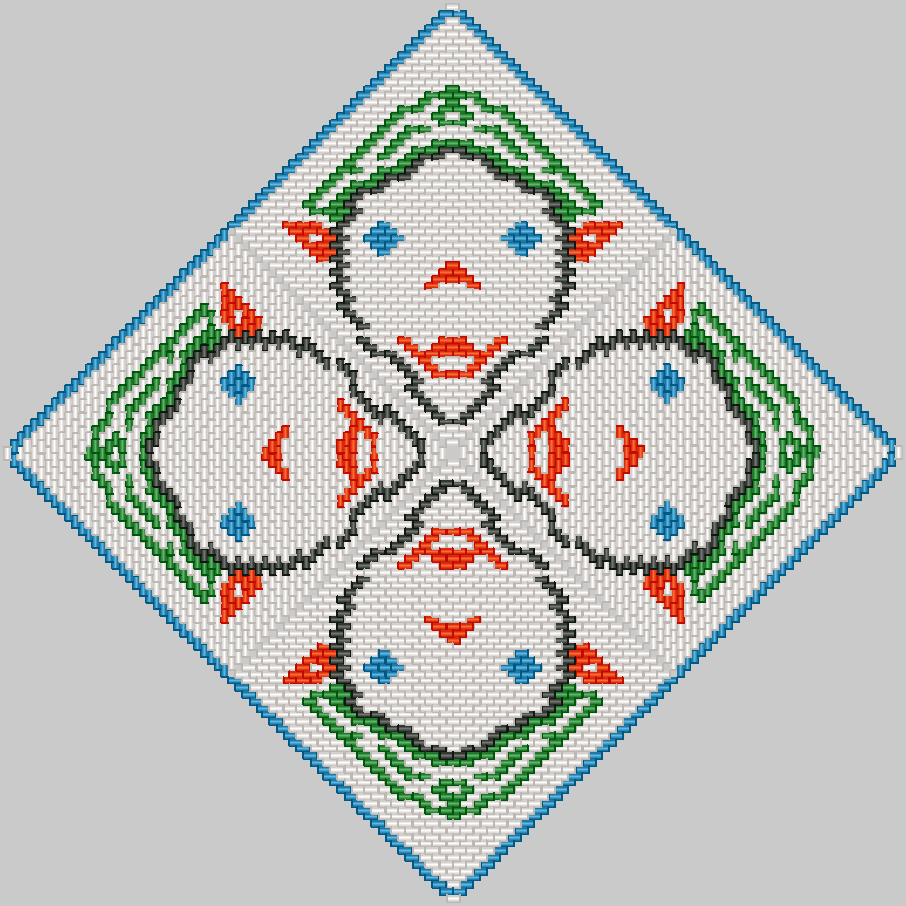
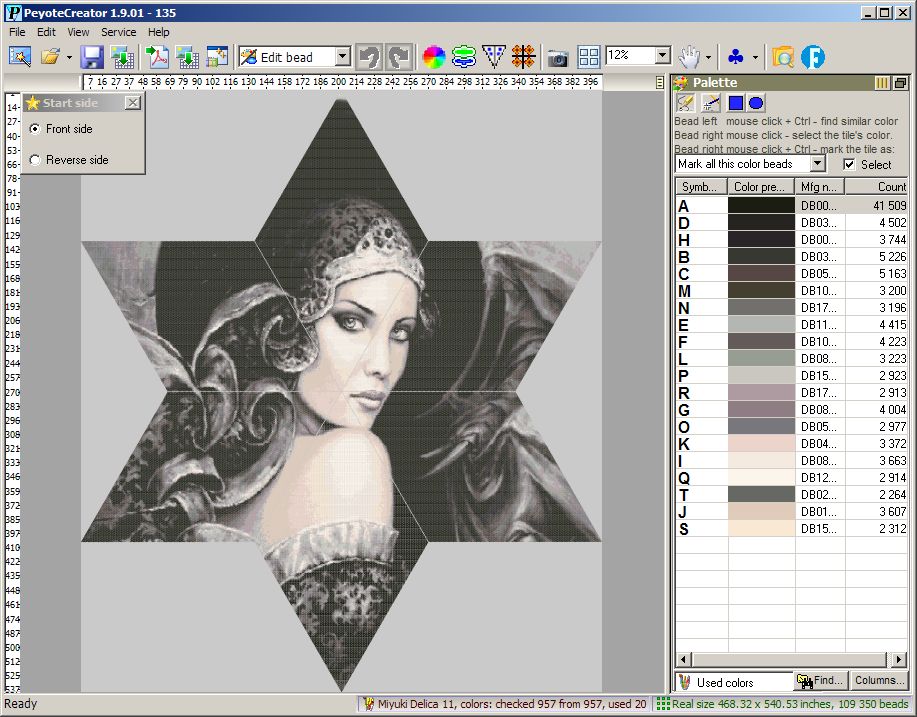
- It’s possible to import any image from jpg, png or bmp file over both peyote star sides.
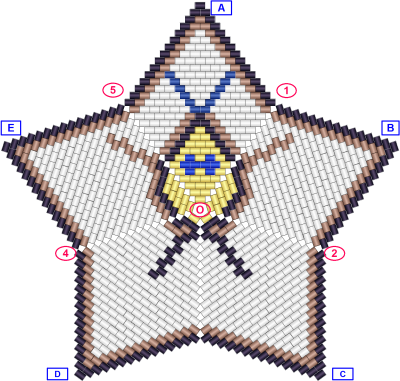
- Marks for 3D Peyote Star.
- Legend for 3D Peyote Star.
- PeyoteCreator allows you manually edit a peyote star bead’s colors and shapes. The program easily allows you to replace one used color with another and visually compare the old and new coloring options.
- Created 3D Peyote Star can be separated on warped squares and printed as word chart into PDF file.
- Ready 3D Peyote Star can be printed into graphic file with used bead’s color list.
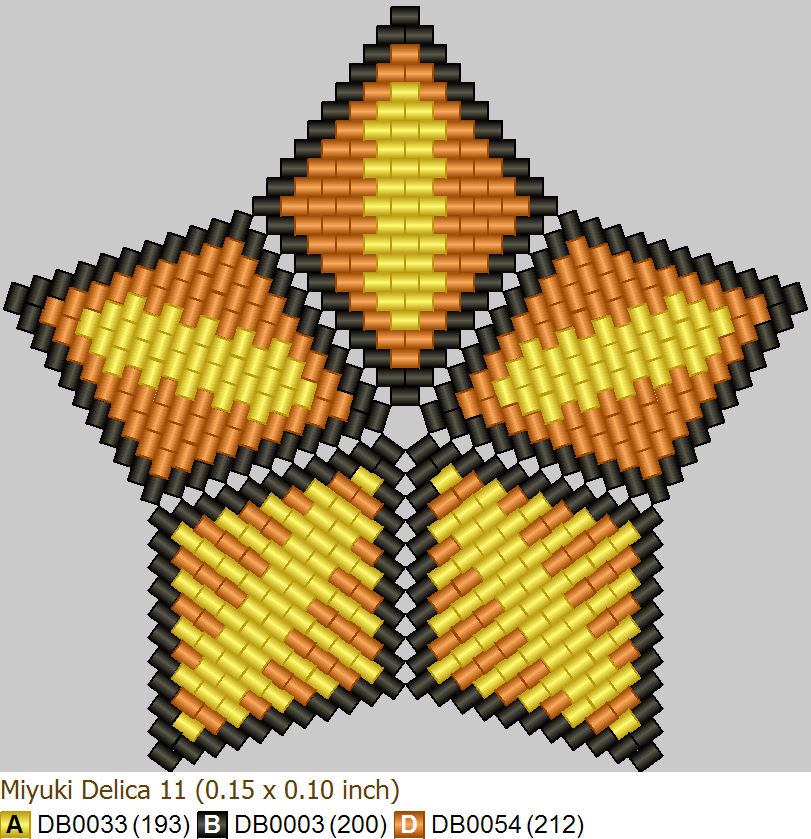
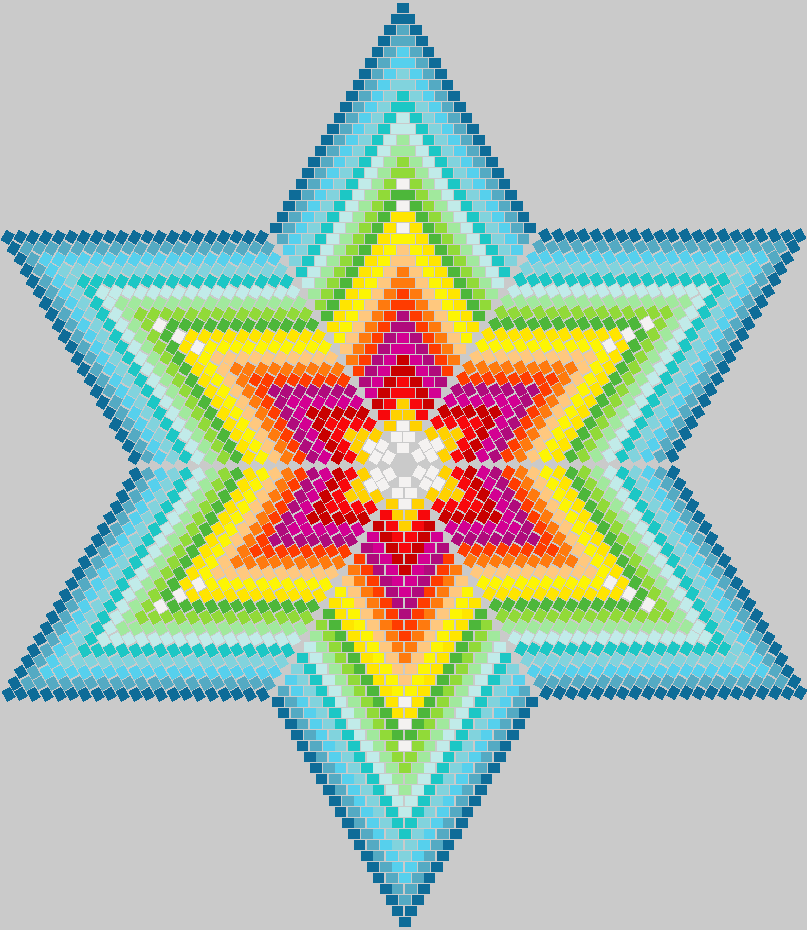
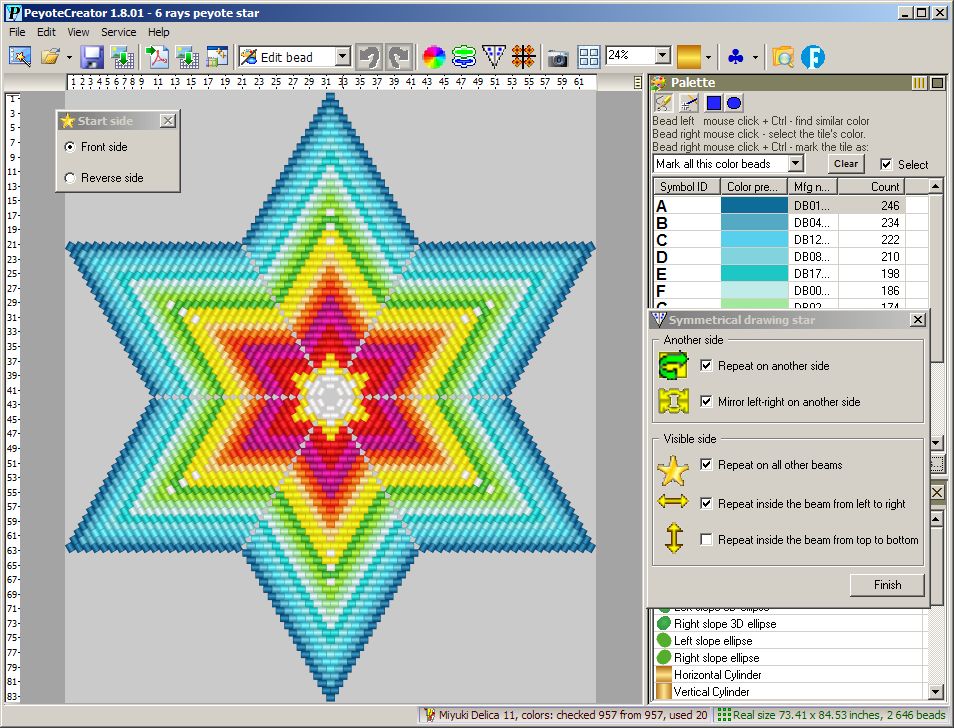
PeyteCreator has 3D Peyote Star Symmetric Drawing feature
PeyoteCreator program allows edit both colors and shape of all peyote star beads. There are several standard drawing tools as pencil, line, filled recrangle and filled circle. But the program has unique drawing tool “Symmetric Drawing” which makes it much easier to draw symmetrical stars. The basic idea is that the user draws using standard tools, and the program repeats this drawing symmetrically in the specified areas.
PeyteCreator allows import any image on 3D Peyote Star
PeyteCreator allows import any image on both or only one side of 3D Peyote Star. It’s possible to import different images on different 3D Peyote Star sides.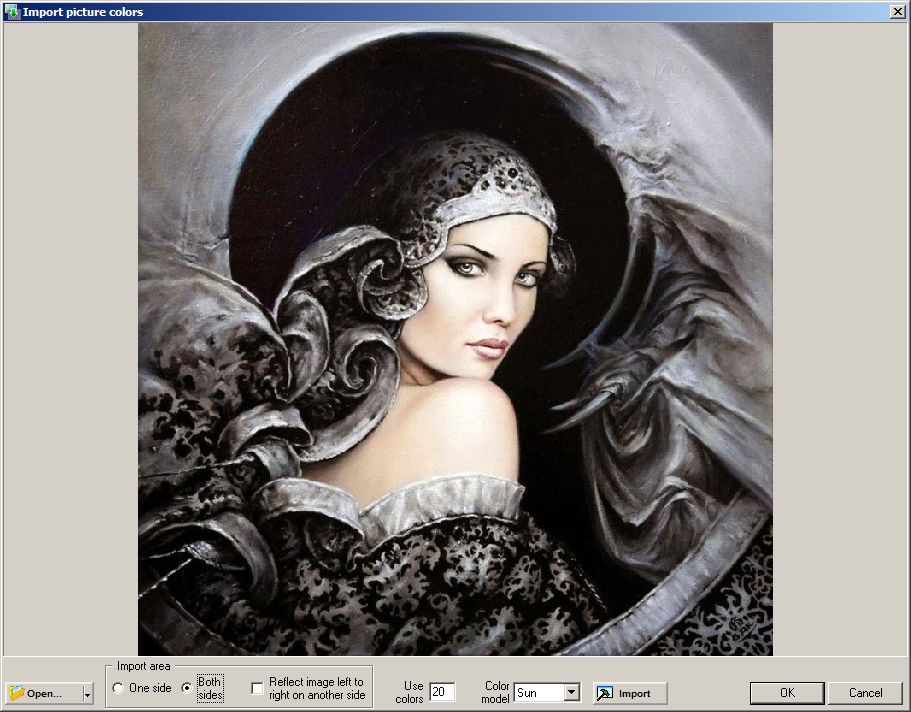
Marks for 3D Peyote Star
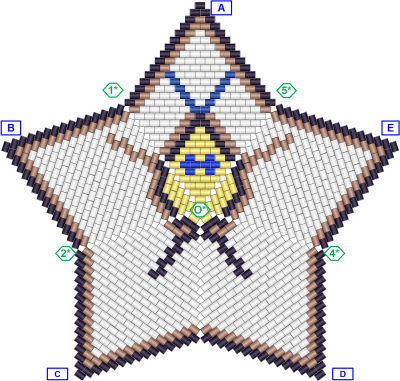
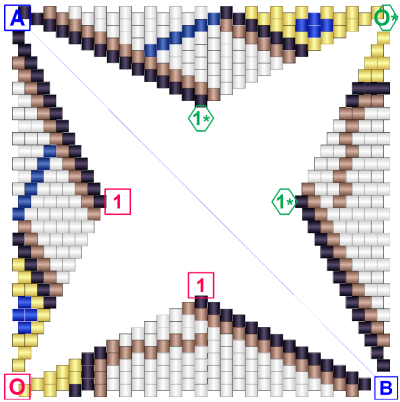
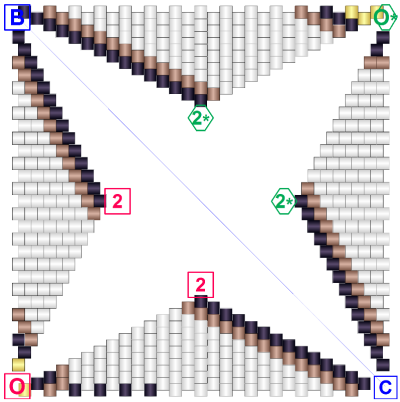
To make it easier to understand the schemes of a star, you can deduce its marks. The marks of a star is an alphanumeric marking of its characteristic points, which makes it easy to compare the beads of images of both sides of the star with images of its warped squares. This greatly facilitates the understanding of word chart of the beading scheme, namely, how to bend and connect the squares to get a star. This marking is especially useful – a marks for novice lovers of beading. The program allows you to turn on/ off the marks output, as well as customize its appearance.
Star face side
|
Star back side
|
1st warped square
|
2nd warped square
|
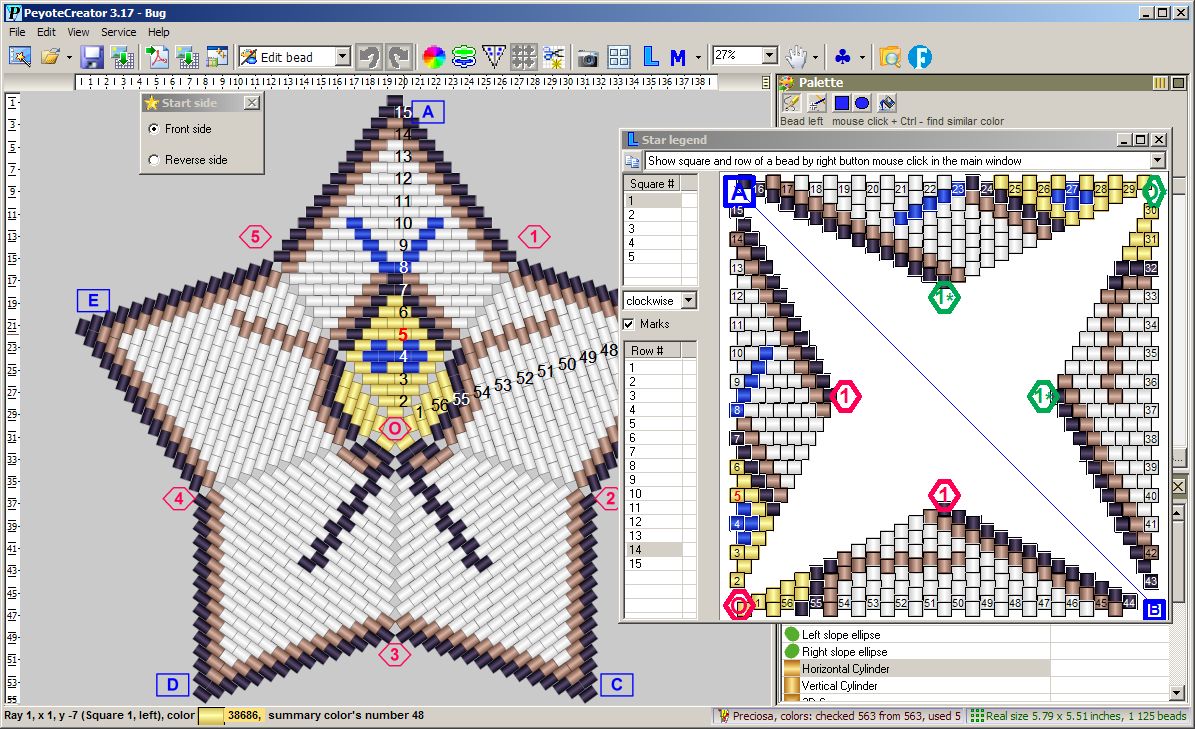
Legend for 3D Peyote Star
Peyote star standard assemble technics is a conntection of several warped squares. The standard way to represent a warped square is by word chart. It is difficult for a beginner to understand the details of this multi-square star assembly. Additional way to make it easier to understand the assmbling is a legend. The legend is a visual comparison of the location of each bead on the surface of a 3D star and its location on the plane of the corresponding warped square.
3D Peyote Star with hole
The program probvides making peyote star with hole. That can be done while the star initial creation. Also that can be done any time latter with main menu item ‘Edit \ Add-remove rows’, which opens the special dialog window. The window allows create, change size or remove a hole.
